How to Choose the Perfect Bracelet Size: A Comprehensive Guide
Finding the right bracelet size is essential for both comfort and style. Whether you’re selecting a bracelet for yourself or as a gift, knowing how to measure and choose the correct size ensures a perfect fit every time. Follow our simple guide to get the best fit for your next bracelet purchase.
What You’ll Need:
Flexible measuring tape or a strip of paper
A pen (if using a paper strip)
A ruler (if using a paper strip)
Step-by-Step Guide to Measuring Your Wrist:
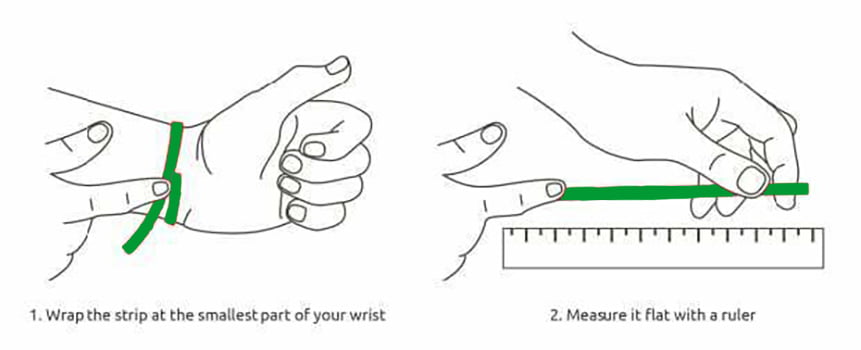
Wrap the Measuring Tool: Place the measuring tape or paper strip around your wrist, exactly where the bracelet will sit. Ensure it’s snug but not too tight.
Mark and Measure: If using a paper strip, mark the point where it overlaps. Then, lay it flat and measure the length up to the mark with a ruler. For a measuring tape, simply read the measurement where it meets the zero mark.
Record Your Measurement: This number is your actual wrist size, which will help you determine the best bracelet size for you.
How to Determine the Perfect Bracelet Size:
Snug Fit: Add 1/4 to 1/2 inch to your wrist size.
Comfort Fit: Add 3/4 to 1 inch for a slightly looser fit.
Loose Fit: Add 1 1/4 inches for a more relaxed and casual fit.
Bracelet Size Chart (General Guidelines):
Child: 5 – 6 inches
Teen: 6 – 6.5 inches
Small Adult: 6.5 – 7 inches
Medium Adult: 7 – 7.5 inches
Large Adult: 7.5 – 8 inches
Extra Large Adult: 8+ inches
Note: Wrist sizes can vary, so it’s always best to measure directly if possible. This chart serves as a general guideline.
Understanding Different Bracelet Types and Their Sizing: A Complete Bracelet Sizing Guide
Chain Bracelets: Add 1/2 inch to your wrist size for a comfortable fit.
Bangle Bracelets: Measure the widest part of your hand, as bangles need to slide over your knuckles.
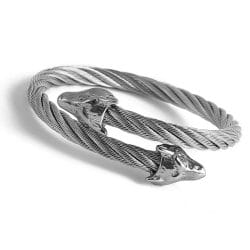
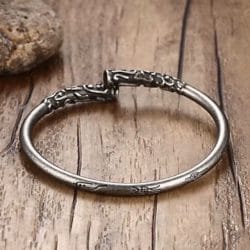
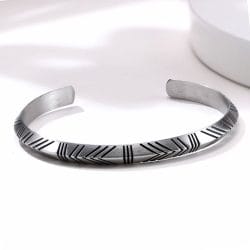
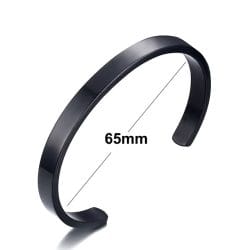
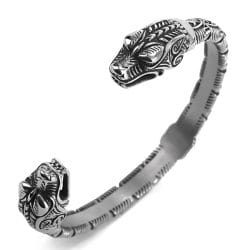
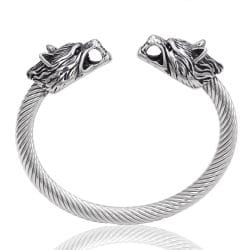
Cuff Bracelets: These should be slightly larger than your wrist size for easy wear.
Beaded and Elastic Bracelets: These often have some stretch, making them more forgiving in size.
Tips for Shopping at SmallHeritage.com:
Consult Our Size Guide: Ensure you’re choosing the perfect size for your wrist by referencing our detailed bracelet size guide.
Consider Adjustable Bracelets: These versatile designs make excellent gifts and offer flexibility to accommodate different wrist sizes.
Understand the Bracelet Type: Knowing the style of bracelet—whether chain, cuff, or bangle—will help you determine the best size and fit.
Explore Our Bracelet Collection: Discover a wide variety of bracelets, from adjustable options to timeless designs, all crafted with attention to detail and style.
Adjusting Your Bracelet for the Perfect Fit: A Simple Bracelet Sizing Guide
Check how to adjust the bracelet
‘You can watch the video directly on our YouTube channel
Cuff Bracelets: Gently bend the metal to tighten or loosen the fit around your wrist.
Link Bracelets: Add or remove links to customize the fit.
Beaded Bracelets: These can be restrung to adjust size, or opt for adjustable ropes for a flexible fit.
Caring for Your Bracelets:
Storage: Keep your bracelets in a jewelry box or pouch to avoid scratches.
Cleaning: Regularly clean your bracelets with a soft cloth to maintain their shine and integrity.
Final Thoughts
Choosing the right bracelet size ensures both comfort and enhances your overall style. By understanding how to measure your wrist and the different types of bracelets available, you can confidently select the perfect piece every time. Explore our wide range of exquisite bracelet designs at SmallHeritage.com and find the perfect fit for you or a loved one.